Ordering patches online should feel exciting, not confusing. Maybe you’re outfitting a team, building a brand, honoring a club, or just stitching your own style onto a jacket. Either way, knowing the process saves you time, money, and revision headaches. This guide walks you through every stage, from the first sketch to the package at your door.
Ordering online means you can compare styles, upload artwork in minutes, and get proofs without leaving home. You also skip the back-and-forth of local shops with limited options. A good online patch maker handles the digitizing, stitching, finishing, and shipping, so your main job is to bring the idea.
Before you start, jot down three things: what the patch is for, roughly how many you need, and when you need them. These three answers shape every decision that follows.
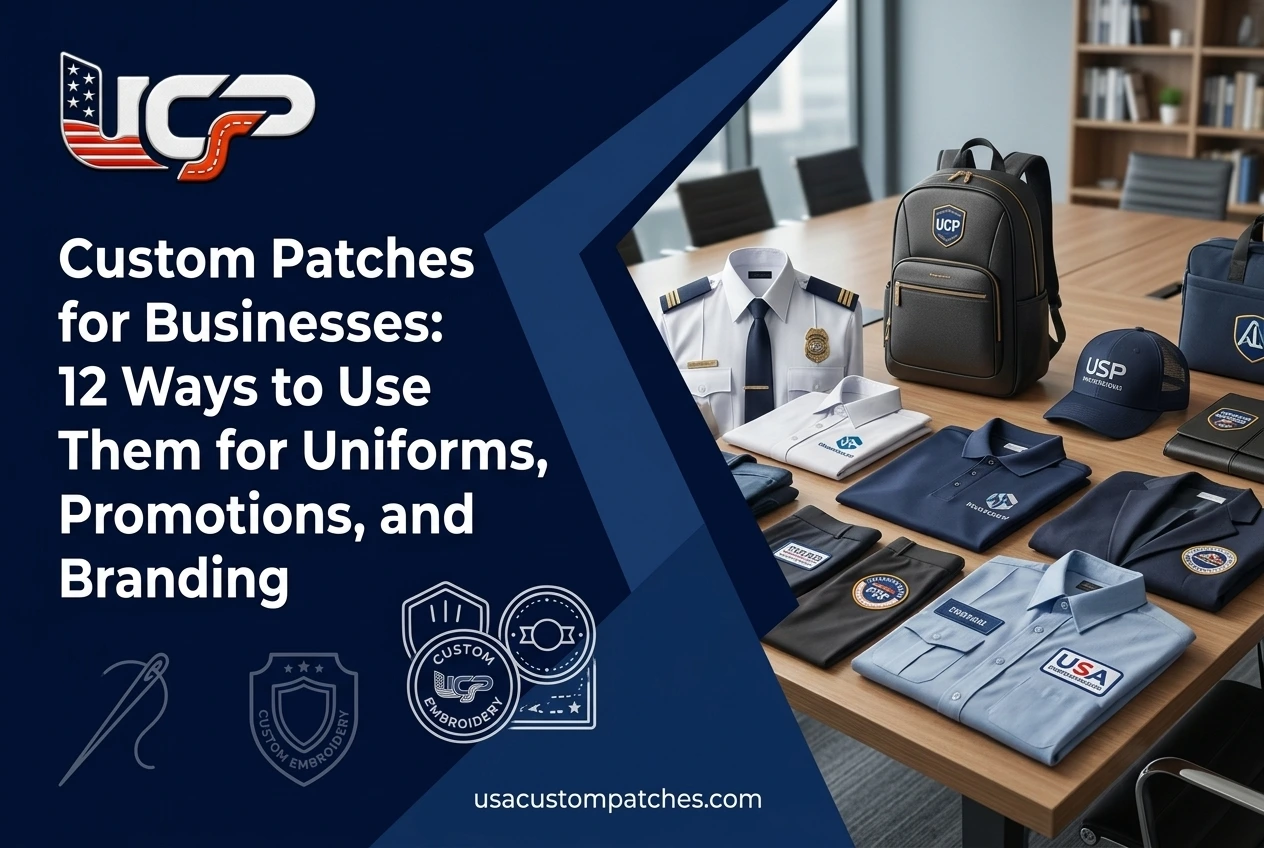
Every great patch starts with a clear job. Are you promoting a business, uniting a sports team, marking a military or security unit, or creating merchandise to sell? A corporate uniform patch needs clean, legible lettering. A motorcycle club patch can be bold, large, and detailed. A fashion patch can be playful and colorful.
Knowing the purpose helps you pick the right size, material, and backing, and it keeps your design focused instead of cluttered.
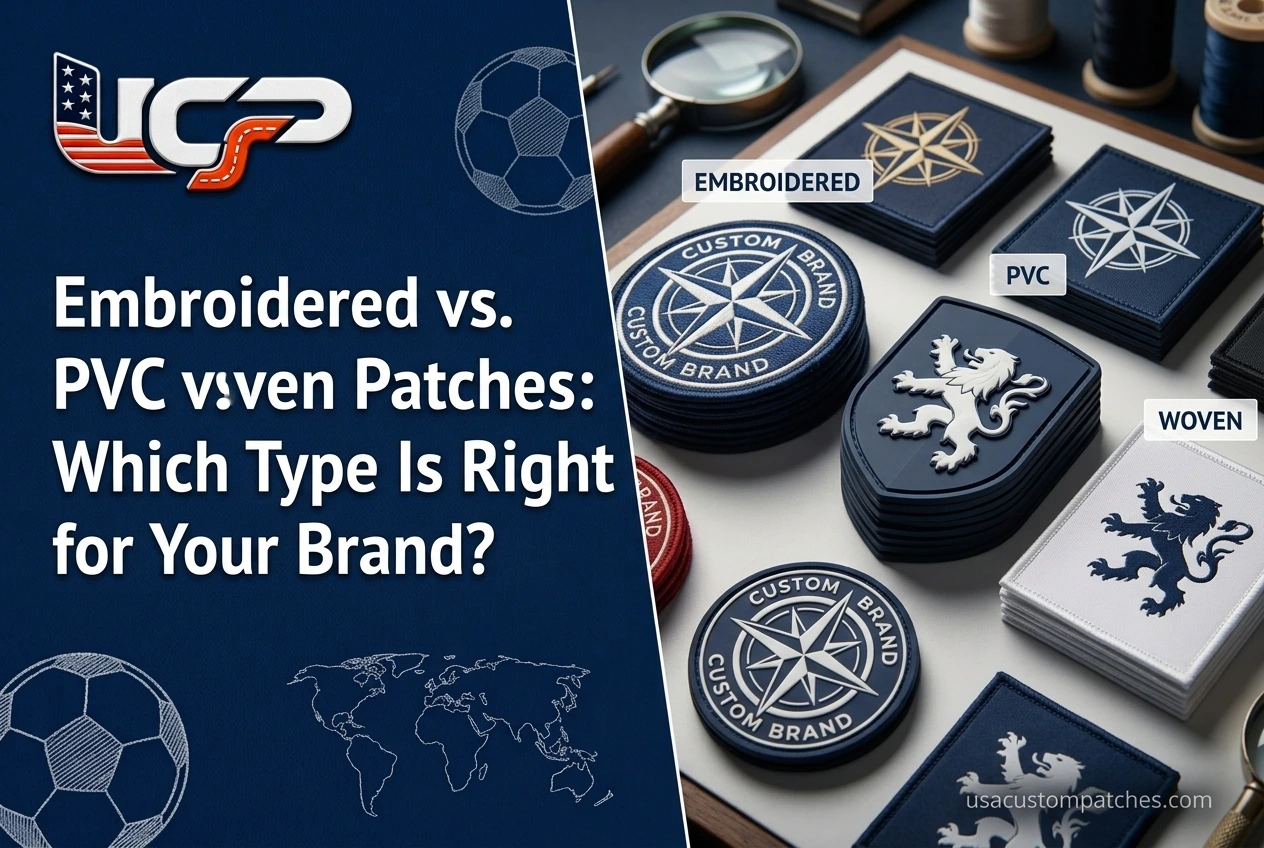
The patch type changes the look and feel more than almost any other decision. Here are the most popular options:
If you’re unsure, ask your supplier for a quick recommendation based on your artwork. A good team will happily steer you toward the style that makes your design shine.
You don’t need to be a professional designer. A simple sketch, a rough idea, or an existing logo is enough for most patch makers to start. If you do have a file, vector formats like AI, EPS, or SVG work best, though high-resolution PNG or JPG files are usually accepted too.
A few design tips that make a big difference:
Size affects both visibility and price. Most patches range from 2 to 4 inches, but you can go larger for jacket backs or smaller for caps and sleeves. Remember that bigger isn’t always better. A 3-inch patch with a sharp design often beats a crowded 5-inch one.
Next comes shape. Circles, rectangles, shields, and ovals are common, but custom die-cut shapes that follow your logo’s outline make patches truly stand out. Finally, choose your border. A merrowed (overlocked) edge is the traditional, rounded look, while a hot-cut edge offers a flatter, cleaner finish.
Backing decides how your patch attaches, so choose it based on where it will live:
If your patch will be washed often, sewing it on after ironing gives you the longest life.
Now it’s time to submit your design. Upload your artwork, choose your patch type, size, quantity, and backing, and request a quote. Reputable suppliers respond quickly with pricing and a free digital proof, a mock-up showing exactly how your patch will look.
Review the proof carefully. Check spelling, thread colors, border style, and proportions. This is your best chance to request changes, so take your time and share the proof with a teammate for a second opinion.
Looking for dependable quality? Many buyers searching for custom patches online choose a team that offers free design help, low minimums, and transparent pricing. That is exactly the experience we aim to deliver at USA Custom Patches.
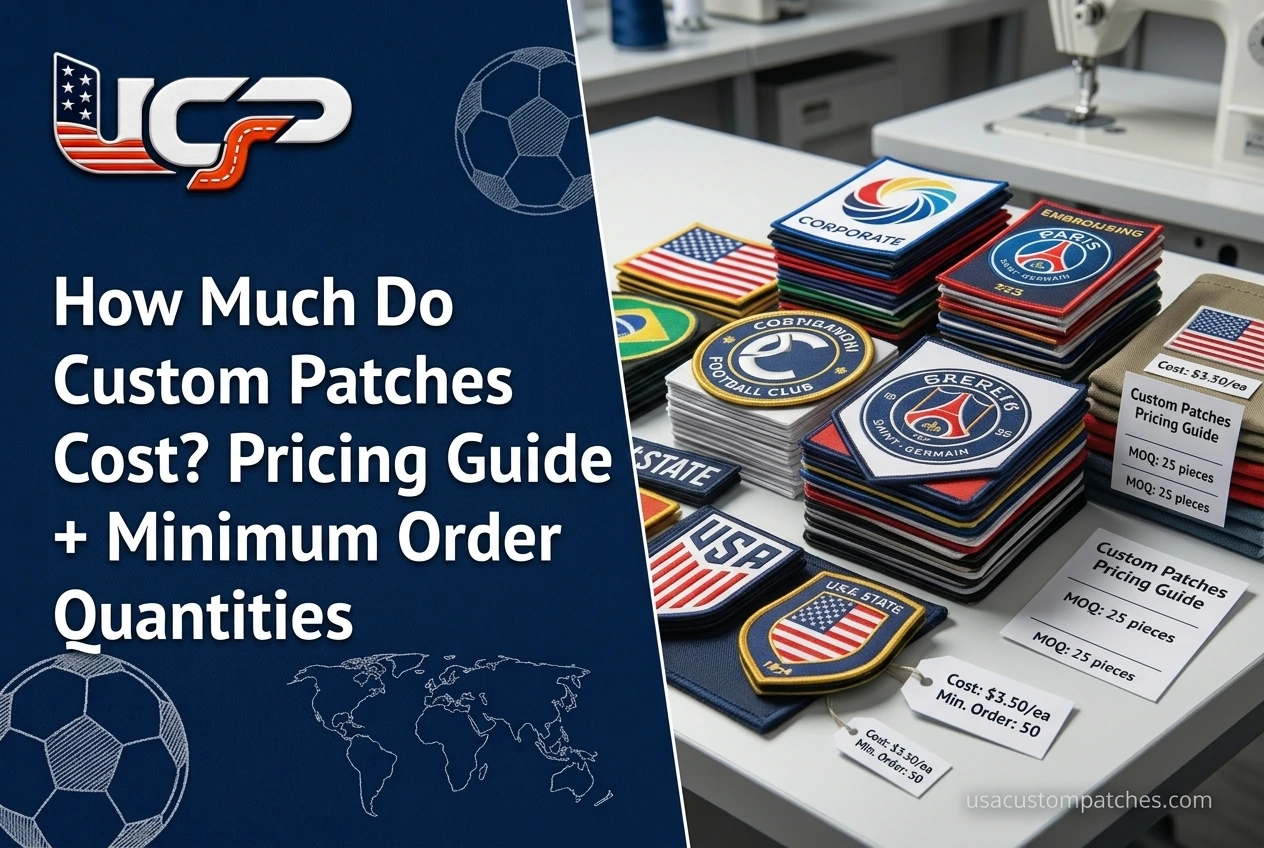
Your price depends on a few key factors: size, patch type, number of colors, backing, and quantity. As a rule, the per-patch cost drops as your order grows. Ordering 100 patches usually costs far less per piece than ordering 25.
If you’re on a budget, consider reducing the size slightly, trimming the number of thread colors, or sticking with a standard shape. Ask about bulk discounts and whether setup fees are included, so there are no surprises at checkout.
Once you approve the proof and place your order, production begins. Your artwork is digitized into a stitch file, threads are matched to your chosen colors, and machines stitch each patch. After stitching, the patches are trimmed, finished with the border and backing you selected, and checked for quality.
Standard production typically takes about one to two weeks, depending on complexity and volume. Many suppliers offer rush options if you have a tight event deadline.
When shoppers look for custom patches USA, they usually want three things: reliable quality, clear communication, and fast delivery. Choosing a supplier that focuses on the American market often means easier communication, familiar shipping times, and support that understands your needs, whether you’re a small business, school, or nonprofit.
For detail-rich logos and lettering, custom embroidery patches remain the go-to choice. Their raised, stitched texture gives your design a premium, professional feel that holds up through washes, wear, and years of use. And if you’re chasing that classic varsity look, USA custom chenille patches bring the bold, fuzzy texture that letterman jackets and school spirit wear are famous for.
After final inspection, your patches are packed and shipped. Delivery within the USA generally takes a few business days with standard shipping, and faster with express options. Always confirm the shipping address, ask for tracking, and plan a buffer before any event date.
When your package arrives, inspect a few patches right away. Check color accuracy, stitching, and backing against your approved proof. Reputable suppliers stand behind their work and will gladly fix any issue.
Finally, the fun part. For iron-on patches, preheat your iron, place the patch, cover it with a thin cloth, and press firmly for 30 to 45 seconds, flipping to press the back as well. For extra durability, add a few stitches around the edge. Sew-on patches should be stitched with matching thread, and Velcro patches simply need the loop side sewn onto your garment.
To keep patches looking sharp, turn garments inside out before washing, use cold water, and skip the dryer when possible. Air drying preserves the stitching and colors for years.
Ordering patches online comes down to a simple path: define your purpose, choose your style, prepare your design, approve your proof, and let the experts handle the rest. With the right partner, the journey from idea to doorstep is smooth, affordable, and genuinely fun.
Ready to bring your idea to life? Share your artwork with the USA Custom Patches team today and request a free quote and digital proof. Your design deserves to be seen, stitched, and worn with pride.
New Order!
Someone from Edinburgh just placed an order!